Application access#
Create an application#
SaaSapplication#
OIDC#
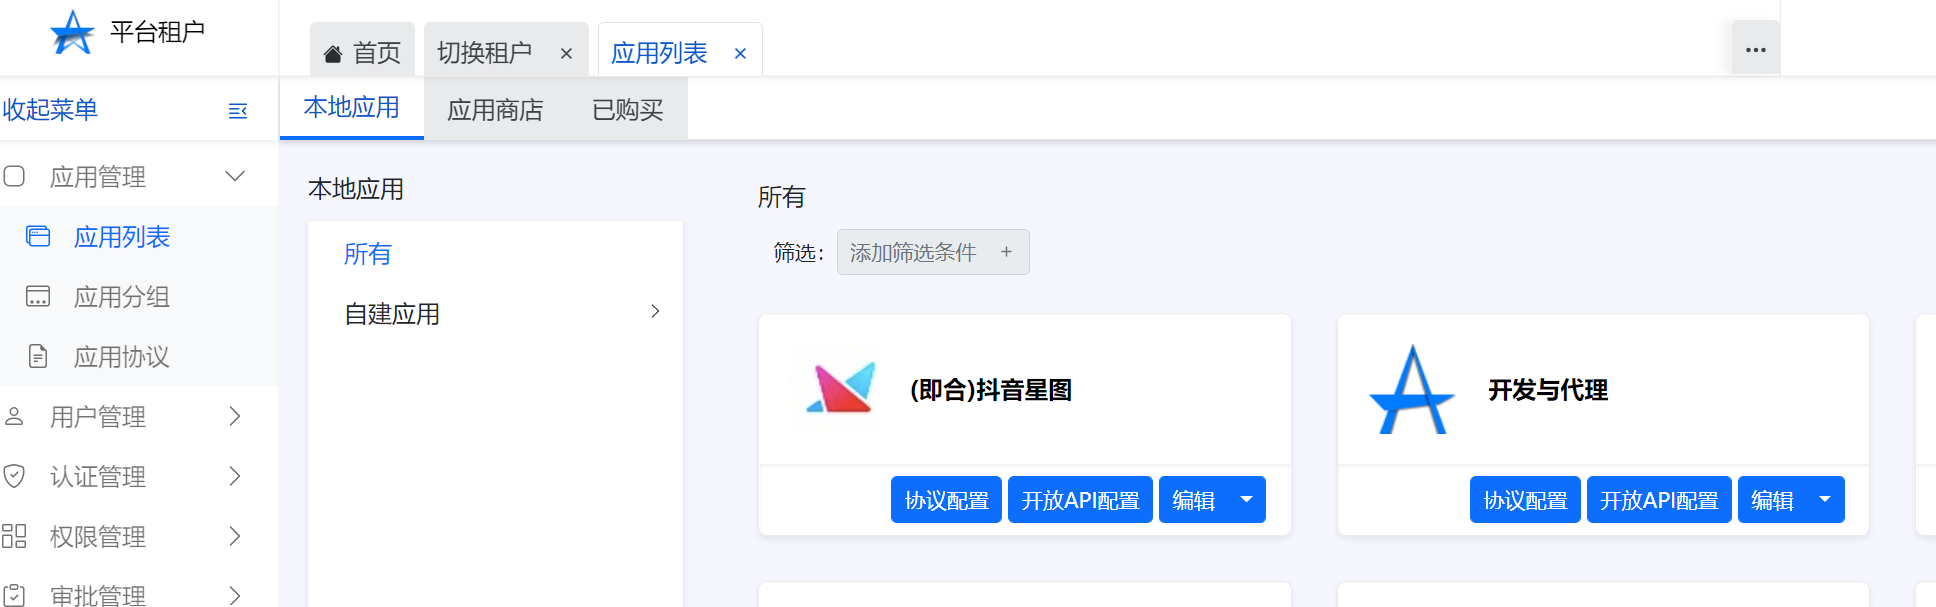
1.Click on application management in Arkid-Application List-Local application,Click to develop and proxy,Jump to ArkStore
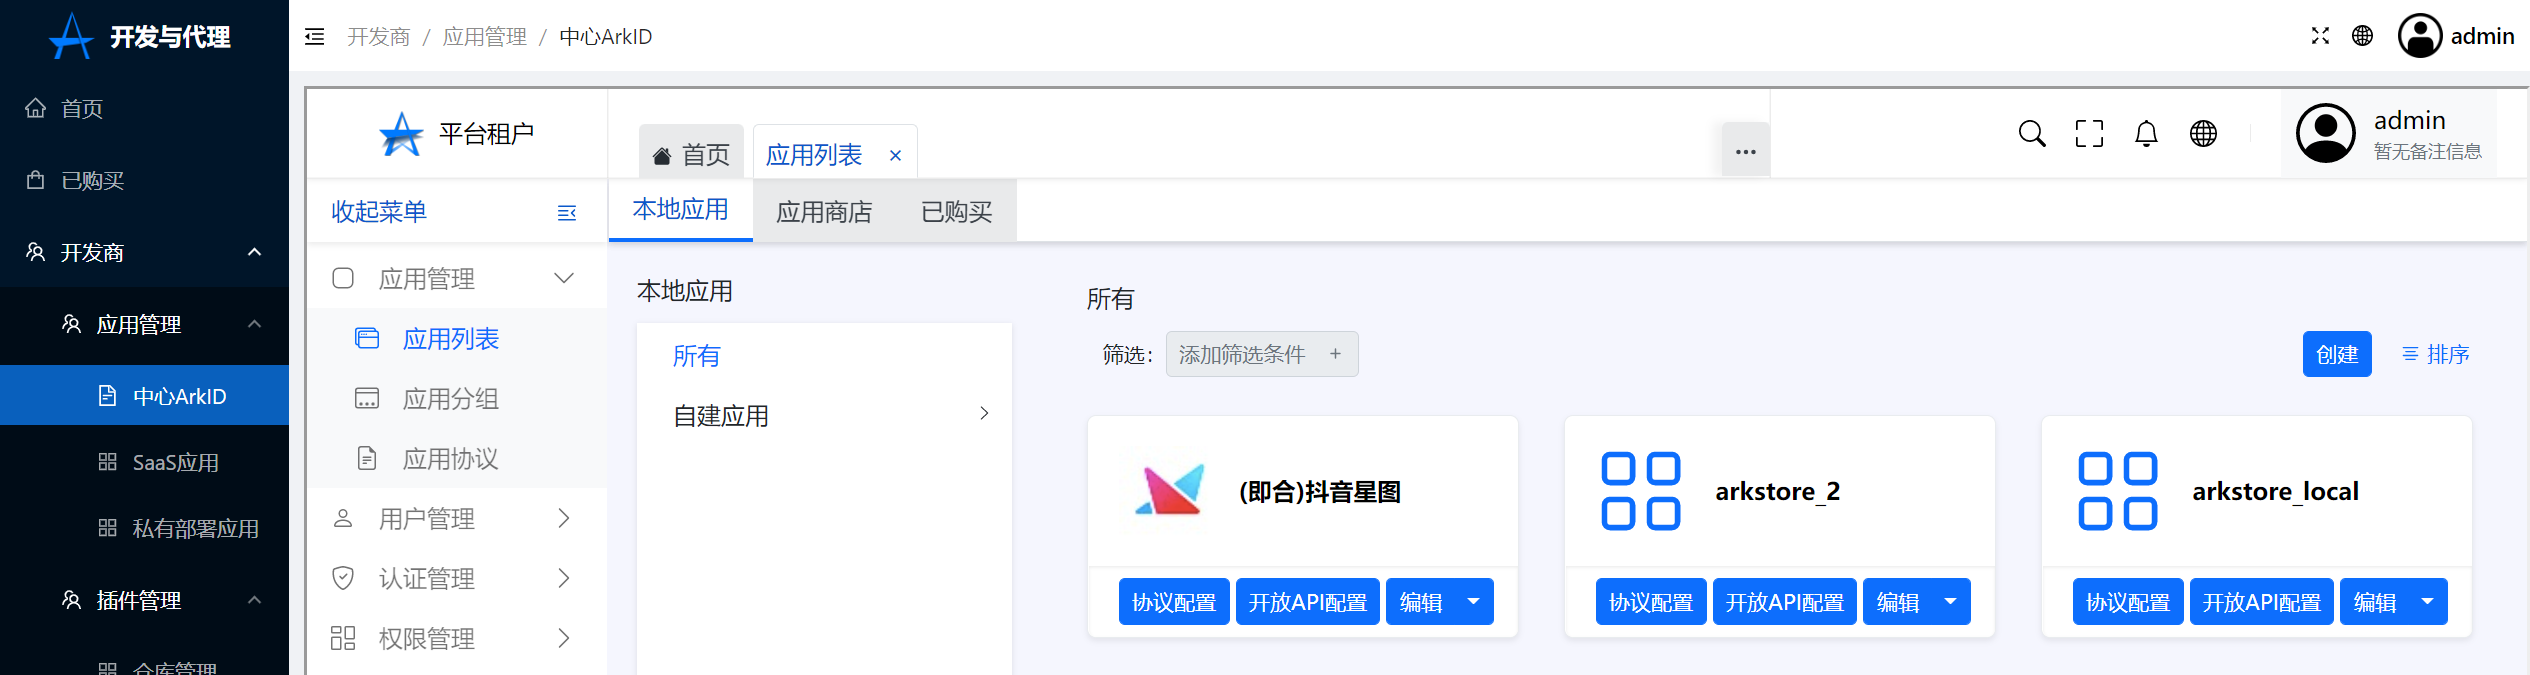
2.Click on the developer in ArkStore-Application management-Center ARKID-Application management-Application List-Local application-create,Create an application
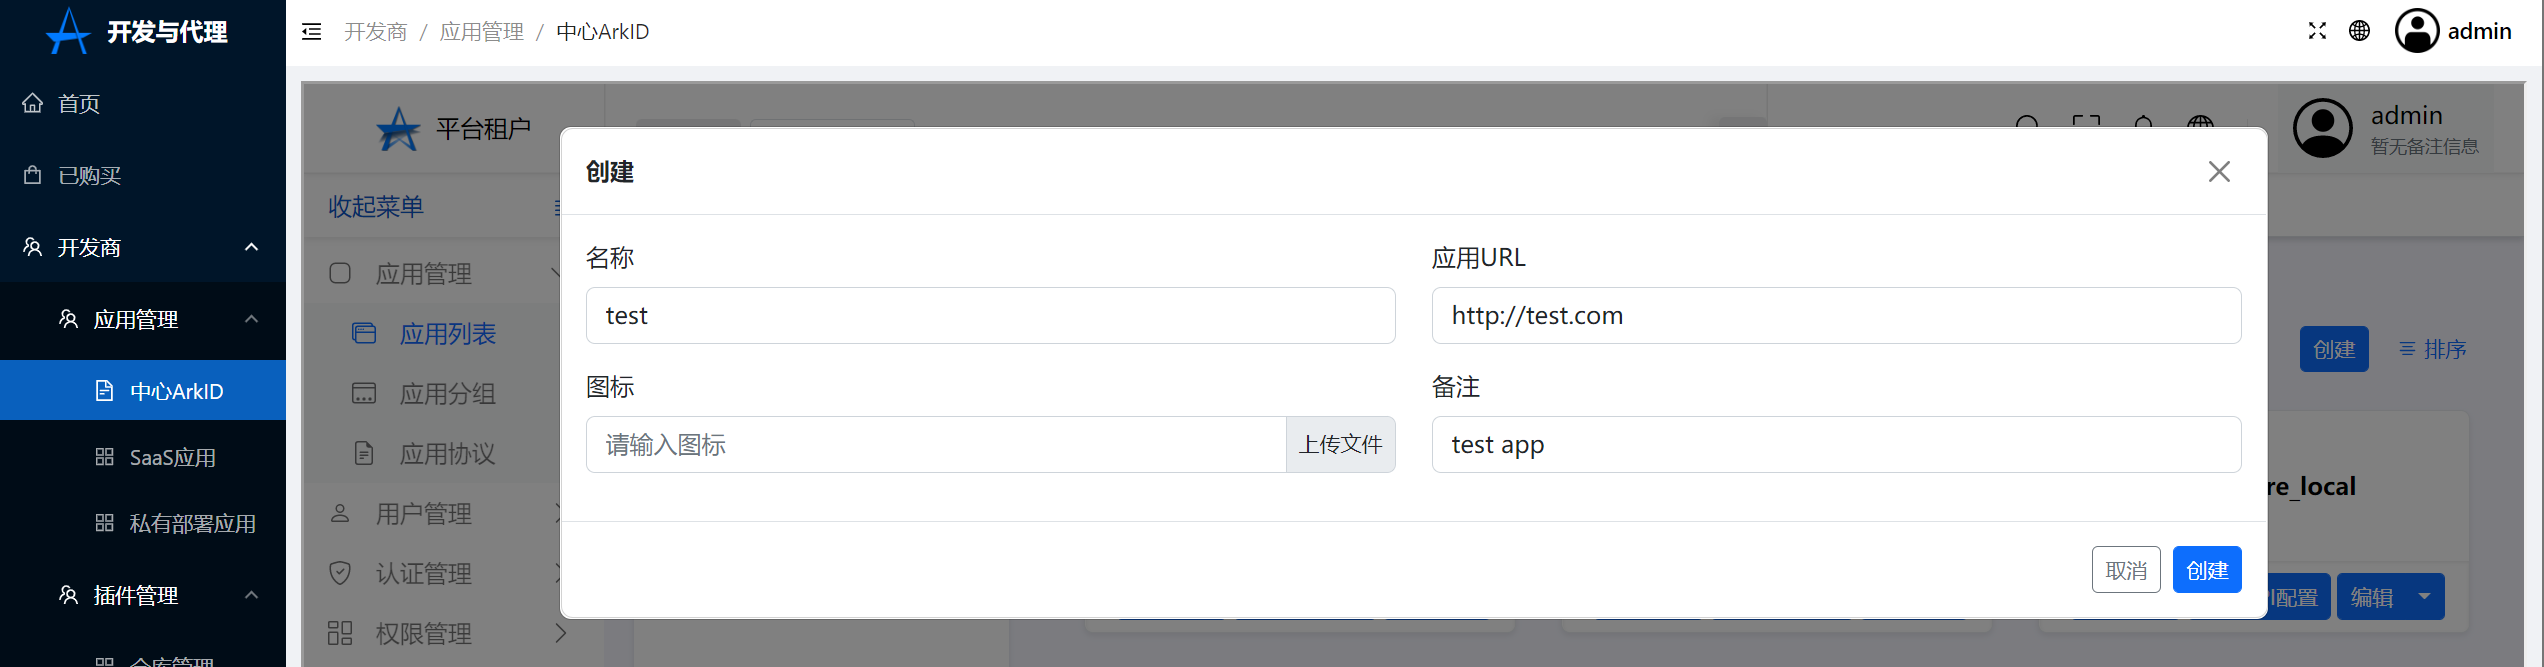
Click to create
Create an application
3.Application for new creation,Click the protocol configuration,Choose OIDC-Platform protocol,And complete application access
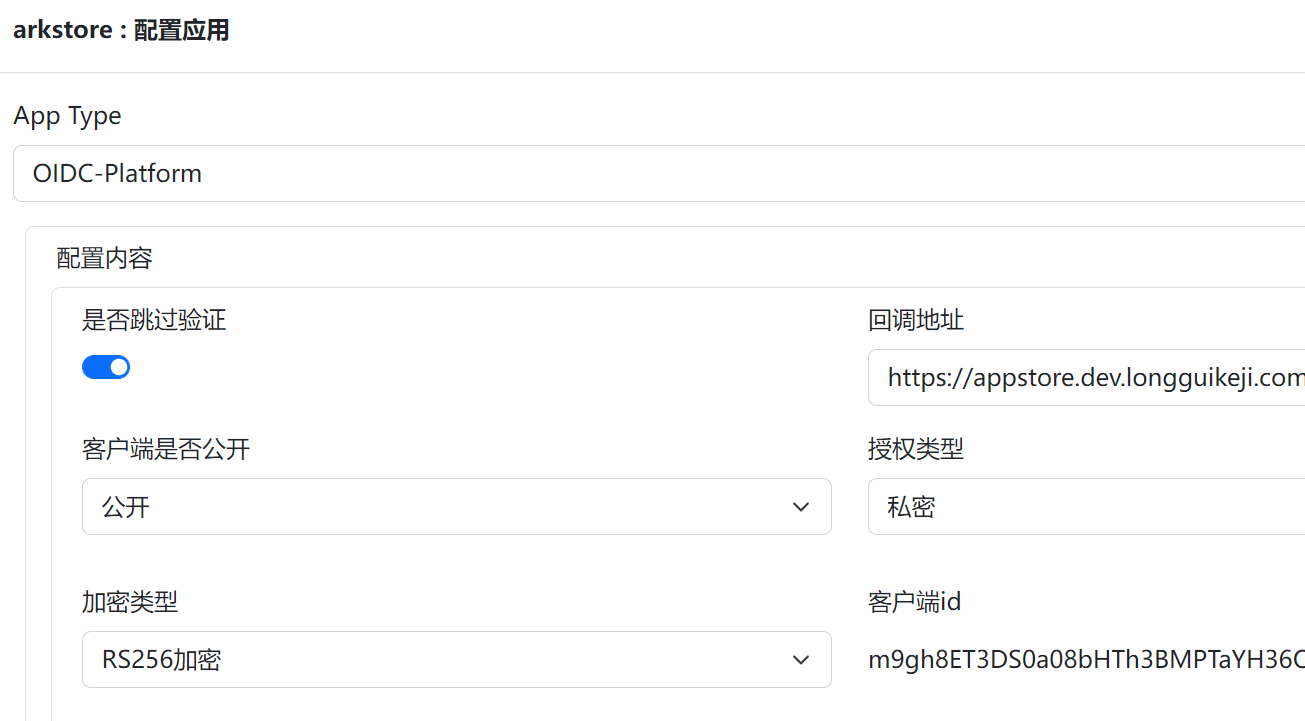
Hint
OIDC-platformIs the OIDC protocol,But this type of application can be accessed by all tenants of the entire platform。You can access it according to OIDC's access process,It's just that the user parameters will increase:Tenant。
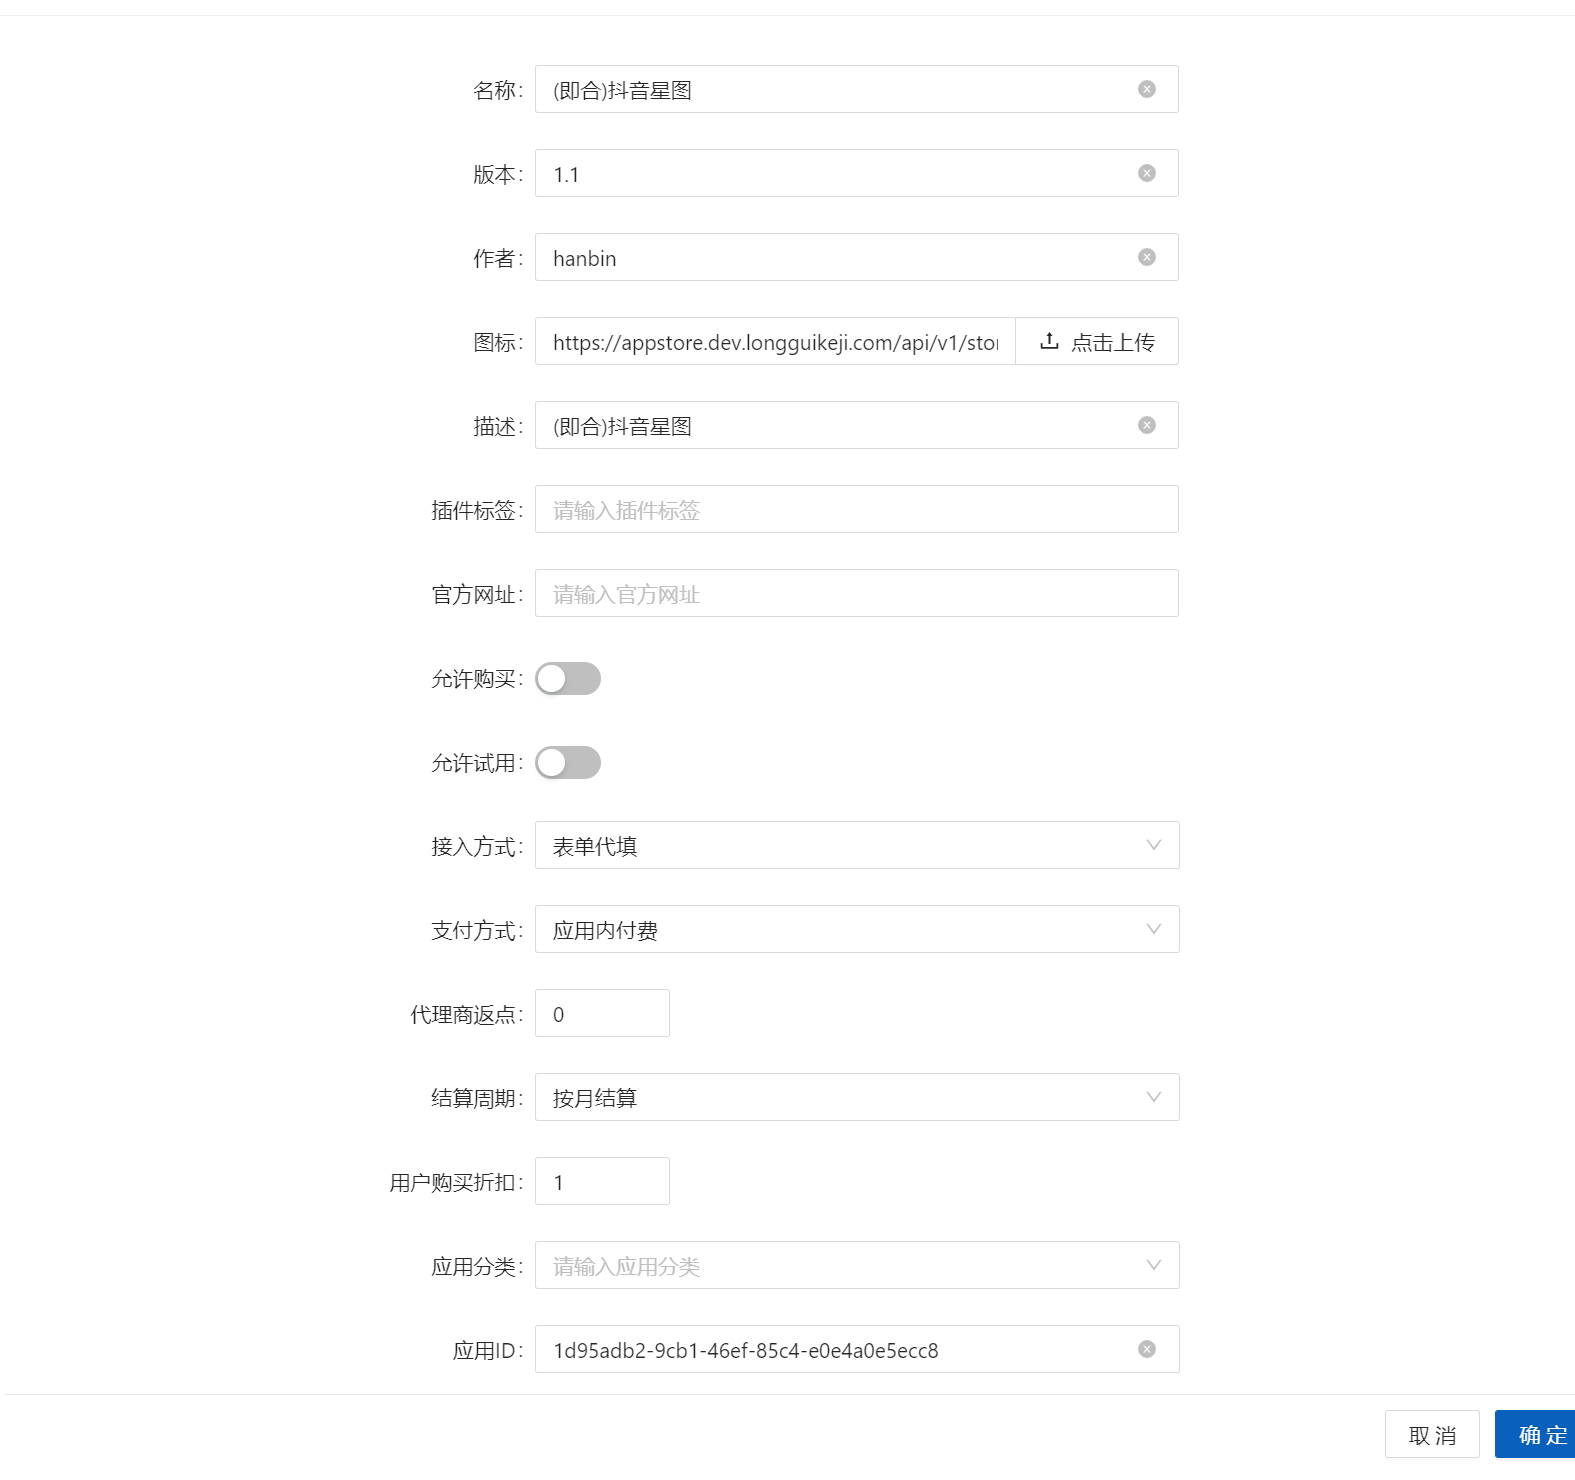
4.Click on developer-SaaS application-Add application,The access method selects OIDC,Application ID created in the application ID input step 2(You can get by clicking the editor button created in step 2 to get)
Click to add an application
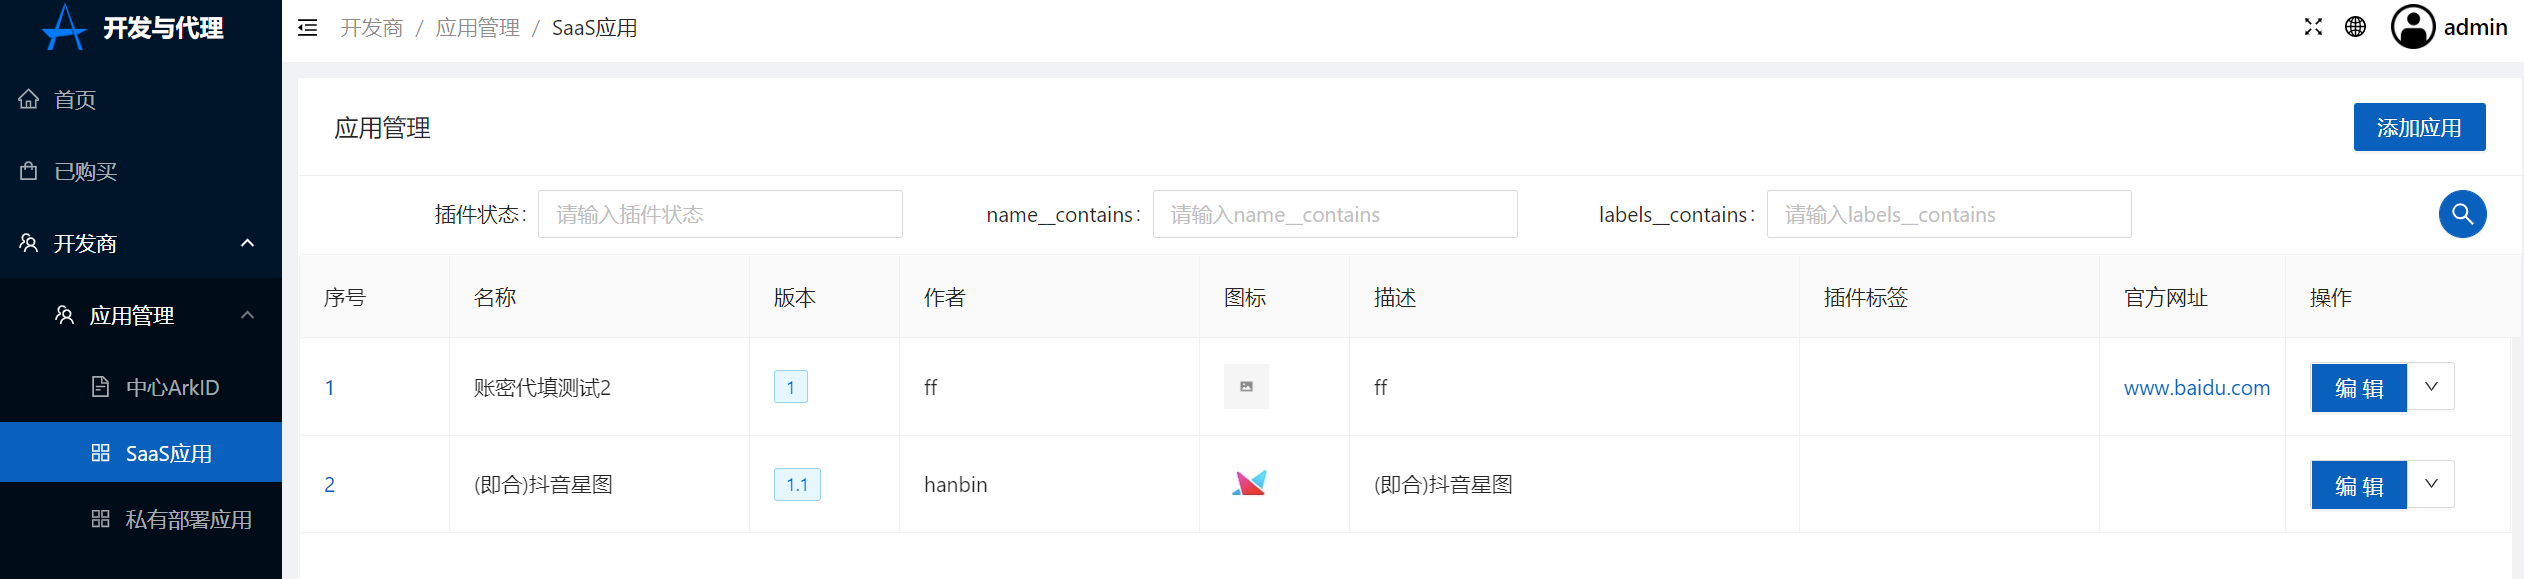
Add application
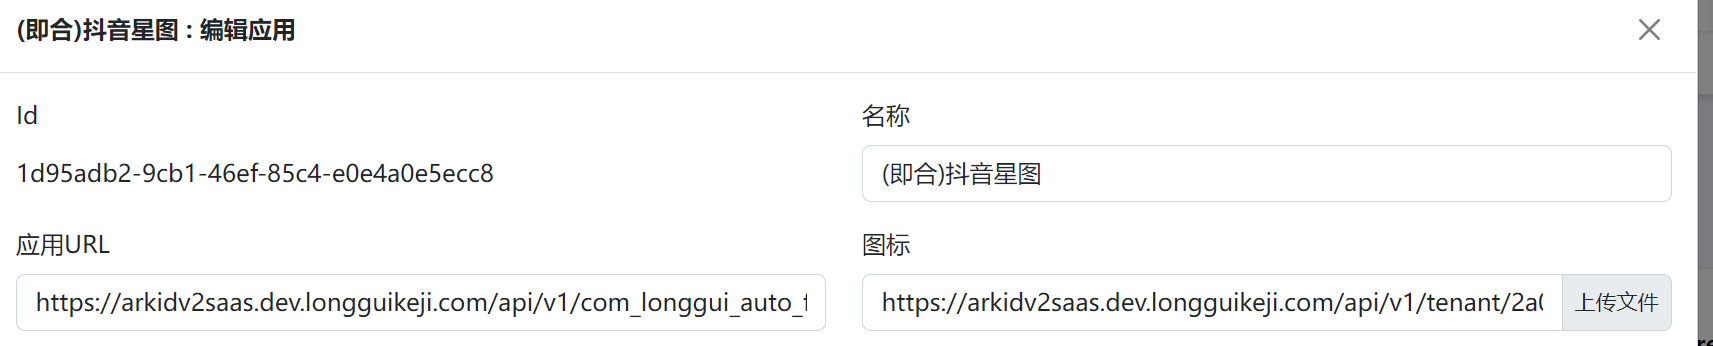
Get application ID
5.Set price,Please see SeePrice rule
Click to set the price
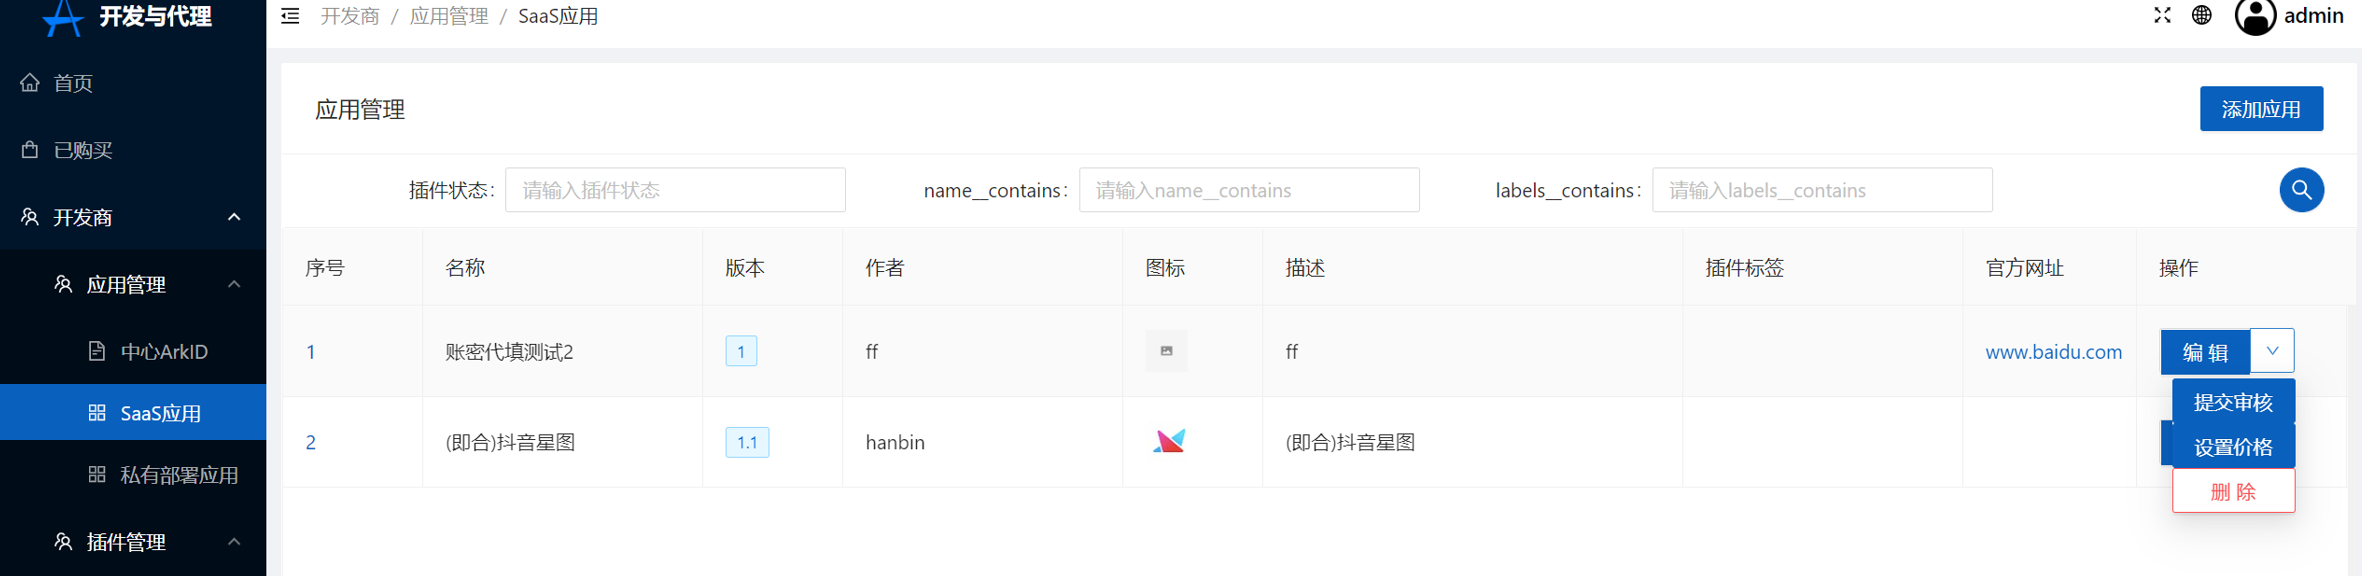
Set price
6.Submit review
7.After the dragon returns the audit,Application is completed,All ARKID users can see the application in their app store。
Custom certification agreement#
If your application uses other non -standard protocols,Please contact us。
Dense replacement#
If your application is temporarily unable to access it through OIDC,We also recommend using the method of filling in the accounts on behalf of。
Create a densely filled application application is similar to the creation of OIDC applications,Just protocol configuration in step 3 to select AutoFormfill,At the same time, select the form to fill in the form 4。
The confidentiality of the account is not a one -point login protocol,Just record the account password of the corresponding site in the browser,And automatically fill in and click login。
If the website uses an additional way such as the verification code,Then the account is not applicable to fill in。
sponsored links#
If the current application does not support the above -mentioned various situations,You can just upload an exclusive promotion link of ARKID,And record the user's subsequent registration,Log in,Paid and other behaviors,Used as a basis for splitting with ARKID。
This is usually the case,Payment will use the form of internal payment,You need to contact us。
Private deployment application#
Private deployment application packaging#
Privatization deployment application adopts helm Chart method package,reference:https://helm.sh/docs/topics/charts/
Simultaneously,Private deployment application packages need to be helm CHART package for additional processing,In order to connect with ARKID application creation and automation OIDC configuration。
1.Chart.yamlAdd additional fields to the file
Chart.yamlAnnotations must be added to configuration,Only will ARKID automatically create an entry application
annotations:
  category: Infrastructure
  # This will be installed after the use of Grafana in privatization,In Arkid application management page,Automatically create Grafana application
  web_url_from_services: grafana
apiVersion: v2
appVersion: 9.2.5
description: The leading tool for querying and visualizing time series and metrics.
home: https://grafana.net
icon: https://raw.githubusercontent.com/grafana/grafana/master/public/img/logo_transparent_400x.png
kubeVersion: ^1.8.0-0
maintainers:
- email: zanhsieh@gmail.com
  name: zanhsieh
- email: rluckie@cisco.com
  name: rtluckie
- email: maor.friedman@redhat.com
  name: maorfr
- email: miroslav.hadzhiev@gmail.com
  name: Xtigyro
- email: mail@torstenwalter.de
  name: torstenwalter
name: grafana
sources:
- https://github.com/grafana/grafana
type: application
version: 6.44.6
arkid-oidc.yamlWhen the file is installed in the privateization deployment application,As a custom configuration, cover Helm Chart default value.yaml configuration。
arkid-oidc.yamlThe file supports the following OIDC custom configuration parameters,illustrate:Apply installation support automatic configuration OIDC to log into the application,The parameters in the table below will be sent to Helm before replacing the actual OIDC address
| parameter | illustrate | example |
|---|---|---|
| $arkid_oidc_root_url | ArkIDApplication entry address | https://1 You will add 4470 A0 D. 16 DB 459431.Ark.dev.Dragon Turtle Technology.com |
| $arkid_oidc_client_id | client_id | 1hQdgZJ9Gf9KhQGhL9RLmatEV1q97rp8Od9kR8n8 |
| $arkid_oidc_client_secret | client_secret | FT2rETrpg9tmtB0wChSBUmRLlHXNH6eesPbeRl2qHpZ1nD3fcCFlEfa3UxLRsiR5MpHvc15i6zZcwLmMtcqVy5zf7ONqSOALNRXP1bBaWALbn2nrn8BLtEuaFIZvtrEm |
| $arkid_oidc_authorize | authorizeaddress | https://Ark.dev.Dragon Turtle Technology.com/api/v1/tenant/49 Boss 1127-Hurt-4535-917 d-Get 024831/app/J0 d 0253 a-Accompanied-4 Slack-8506-Dam 1275573 Bear/oauth/authorize/ |
| $arkid_oidc_token | Get the token address | https://Ark.dev.Dragon Turtle Technology.com/api/v1/tenant/49 Boss 1127-Hurt-4535-917 d-Get 024831/oauth/token/ |
| $arkid_oidc_jwks | Get the JWKS certificate address | https://Ark.dev.Dragon Turtle Technology.com/api/v1/tenant/49 Boss 1127-Hurt-4535-917 d-Get 024831/.well-known/jwks.json |
| $arkid_oidc_userinfo | Get user information address | https://Ark.dev.Dragon Turtle Technology.com/api/v1/tenant/49 Boss 1127-Hurt-4535-917 d-Get 024831/oauth/userinfo/ |
| $arkid_oidc_logout | Login address | https://Ark.dev.Dragon Turtle Technology.com/api/v1/tenant/49 Boss 1127-Hurt-4535-917 d-Get 024831/oidc/logout/ |
Example 1: Jumpserver's Arkid-oidc.yaml file
global:
  storageClass: standard

## Please configure your MySQL server first
## Jumpserver will not start the external MySQL server.
##
externalDatabase:
  engine: mysql
  host: jms-mysql
  port: 3306
  user: root
  password: "weakPassword"
  database: jumpserver

## Please configure your Redis server first
## Jumpserver will not start the external Redis server.
##
externalRedis:
  host: jms-redis-master
  port: 6379
  password: "weakPassword"

ingress:
  hosts:
    - "test.jumpserver.org"

core:
  config:
    # Generate a new random secret key by execute `cat /dev/urandom | tr -dc A-Za-z0-9 | head -c 50`
    secretKey: "GxrLH7rewfsRN8B9Zl6MEGD50Uou4LF6UVsEIwfsRN8B9Zl6MEGD50UouayGMhYll8dqmn"
    # Generate a new random bootstrap token by execute `cat /dev/urandom | tr -dc A-Za-z0-9 | head -c 24`
    bootstrapToken: "ilR8RvAbK7lgRTxs"
    log:
      level: DEBUG

  env:
    # Doc: https://docs.jumpserver.org/zh/master/admin-guide/authentication/openid/#5-jumpserver
    AUTH_OPENID: True
    BASE_SITE_URL: $arkid_oidc_root_url
    AUTH_OPENID_CLIENT_ID: $arkid_oidc_client_id
    AUTH_OPENID_CLIENT_SECRET: $arkid_oidc_client_secret
    AUTH_OPENID_PROVIDER_ENDPOINT: $arkid_oidc_client_authorize
    AUTH_OPENID_PROVIDER_AUTHORIZATION_ENDPOINT: $arkid_oidc_client_authorize
    AUTH_OPENID_PROVIDER_TOKEN_ENDPOINT: $arkid_oidc_client_token
    AUTH_OPENID_PROVIDER_JWKS_ENDPOINT: $arkid_oidc_jwks
    AUTH_OPENID_PROVIDER_USERINFO_ENDPOINT: $arkid_oidc_client_userinfo
    AUTH_OPENID_PROVIDER_END_SESSION_ENDPOINT: $arkid_oidc_logout
    AUTH_OPENID_PROVIDER_SIGNATURE_ALG: HS256
    AUTH_OPENID_PROVIDER_SIGNATURE_KEY: null
    AUTH_OPENID_SCOPES: openid profile email
    AUTH_OPENID_ID_TOKEN_MAX_AGE: 60
    AUTH_OPENID_ID_TOKEN_INCLUDE_CLAIMS: True
    AUTH_OPENID_USE_STATE: True
    AUTH_OPENID_USE_NONCE: True
    AUTH_OPENID_SHARE_SESSION: False
    AUTH_OPENID_IGNORE_SSL_VERIFICATION: True
Example 2: Grafana 的 arkid-oidc.yaml file
## arkid-oidc.yaml
env:
  GF_SERVER_ROOT_URL: $arkid_oidc_root_url
  GF_AUTH_GENERIC_OAUTH_ENABLED: "true"
  GF_AUTH_GENERIC_OAUTH_NAME: "arkid"
  GF_AUTH_GENERIC_OAUTH_CLIENT_ID: "$arkid_oidc_client_id"
  GF_AUTH_GENERIC_OAUTH_CLIENT_SECRET: "$arkid_oidc_client_secret"
  GF_AUTH_GENERIC_OAUTH_SCOPES: "email,openid,userinfo"
  GF_AUTH_GENERIC_OAUTH_AUTH_URL: "$arkid_oidc_authorize"
  GF_AUTH_GENERIC_OAUTH_TOKEN_URL: "$arkid_oidc_token"
  GF_AUTH_GENERIC_OAUTH_API_URL: "$arkid_oidc_userinfo"
Privatization deployment application upload#
1.Click on application management in Arkid-Application List-Local application,Click to develop and proxy,Jump to ArkStore
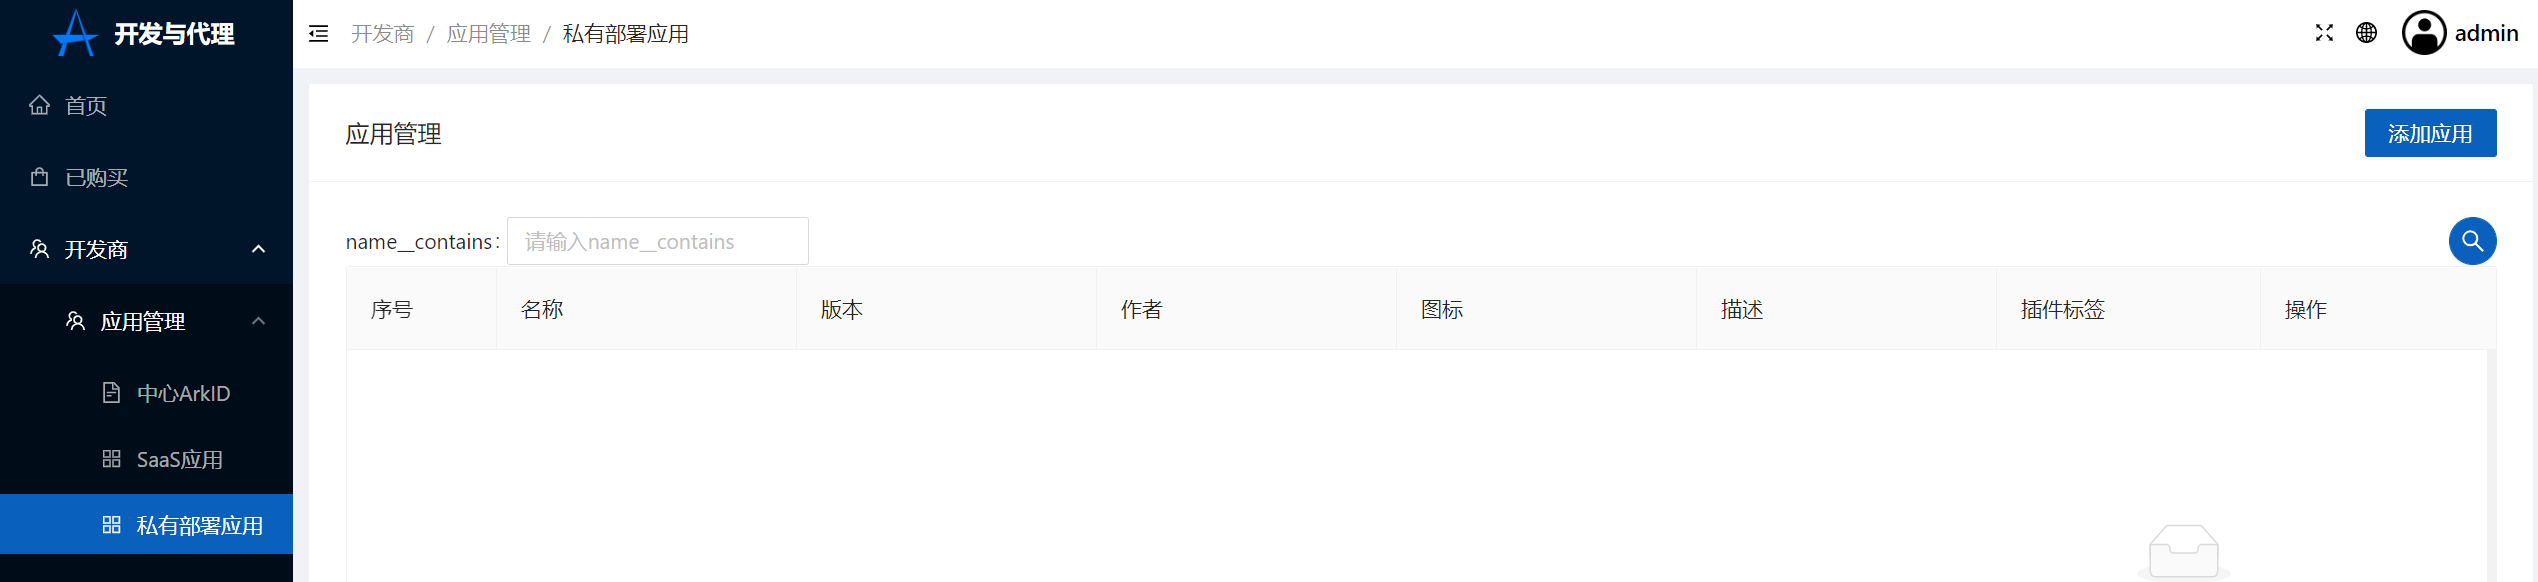
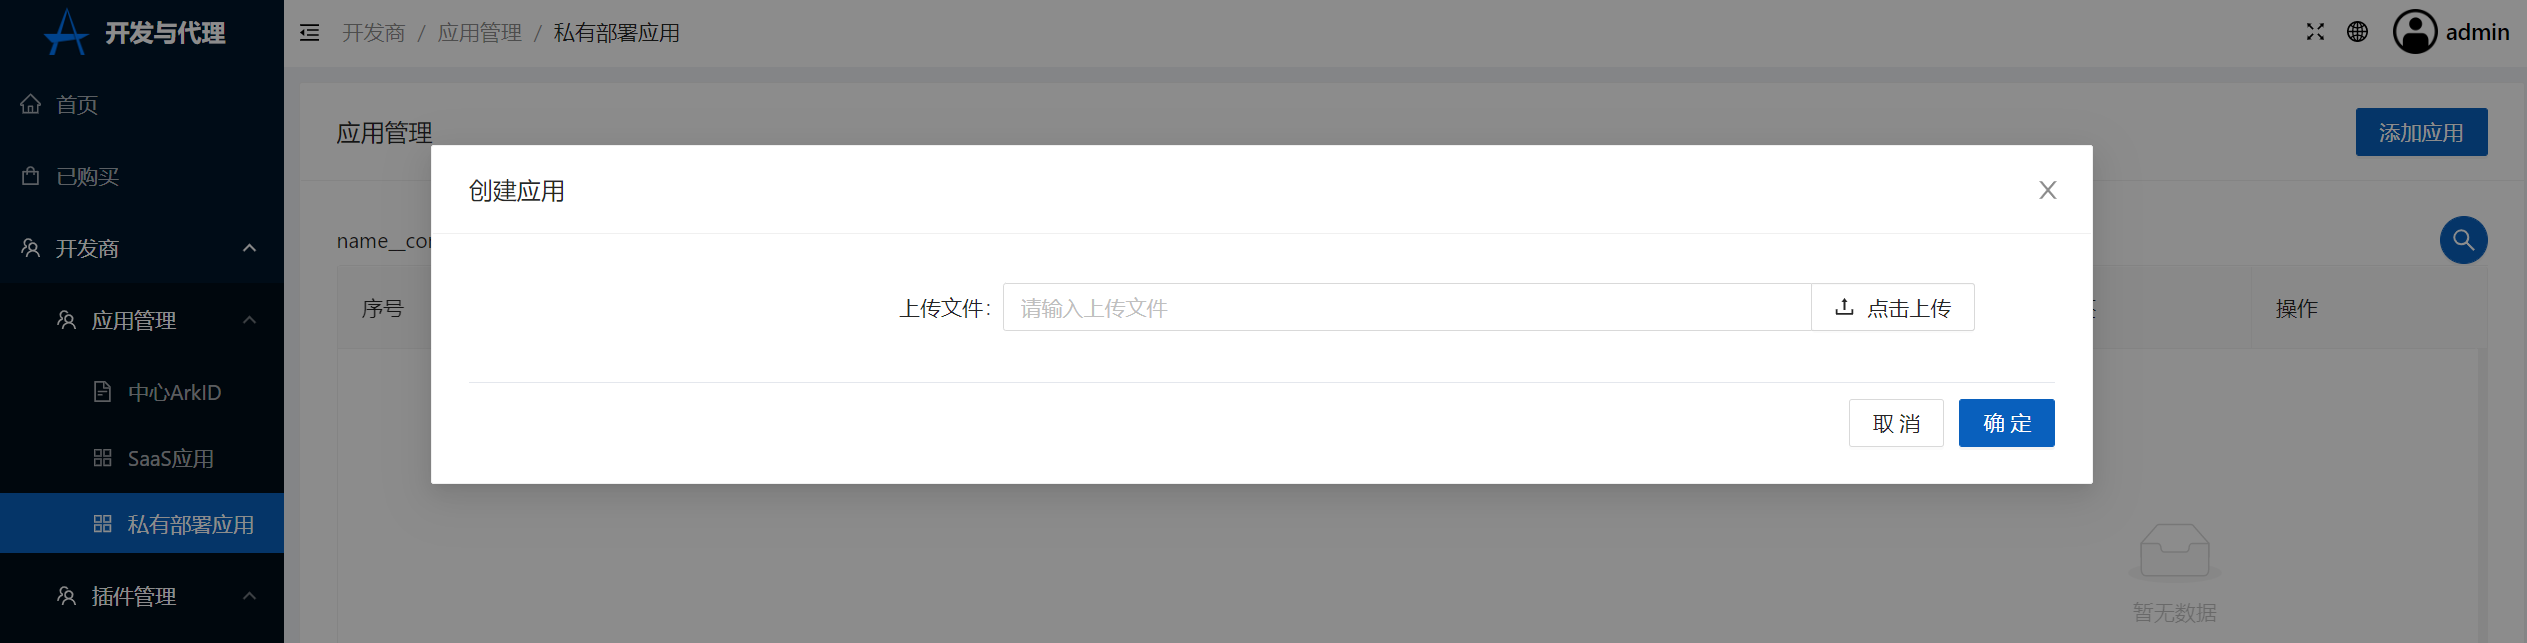
2.Click on the developer in ArkStore-Application management-Private deployment application-Add application,Upload helm Charts's TGZ format compression package
Click to create
Upload file helm Chart's TGZ file
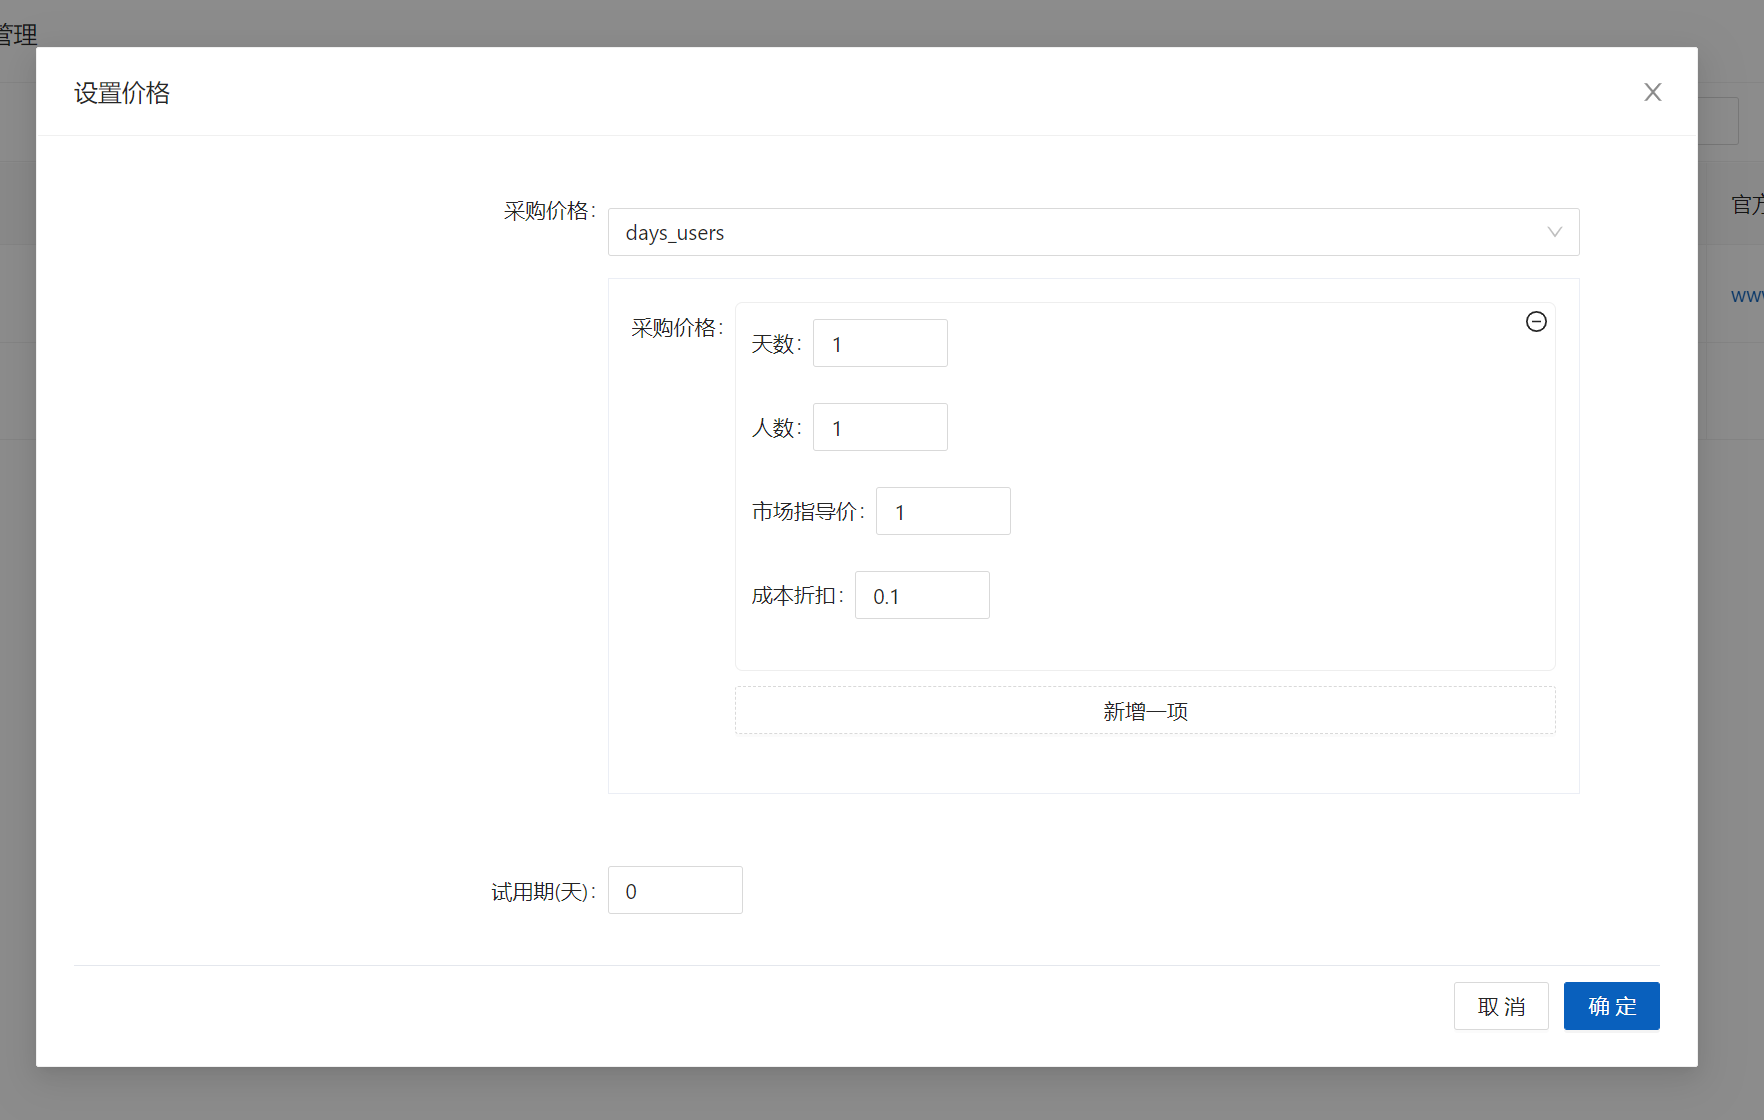
5.Set price,Please see SeePrice rule
Click to set the price
Set price
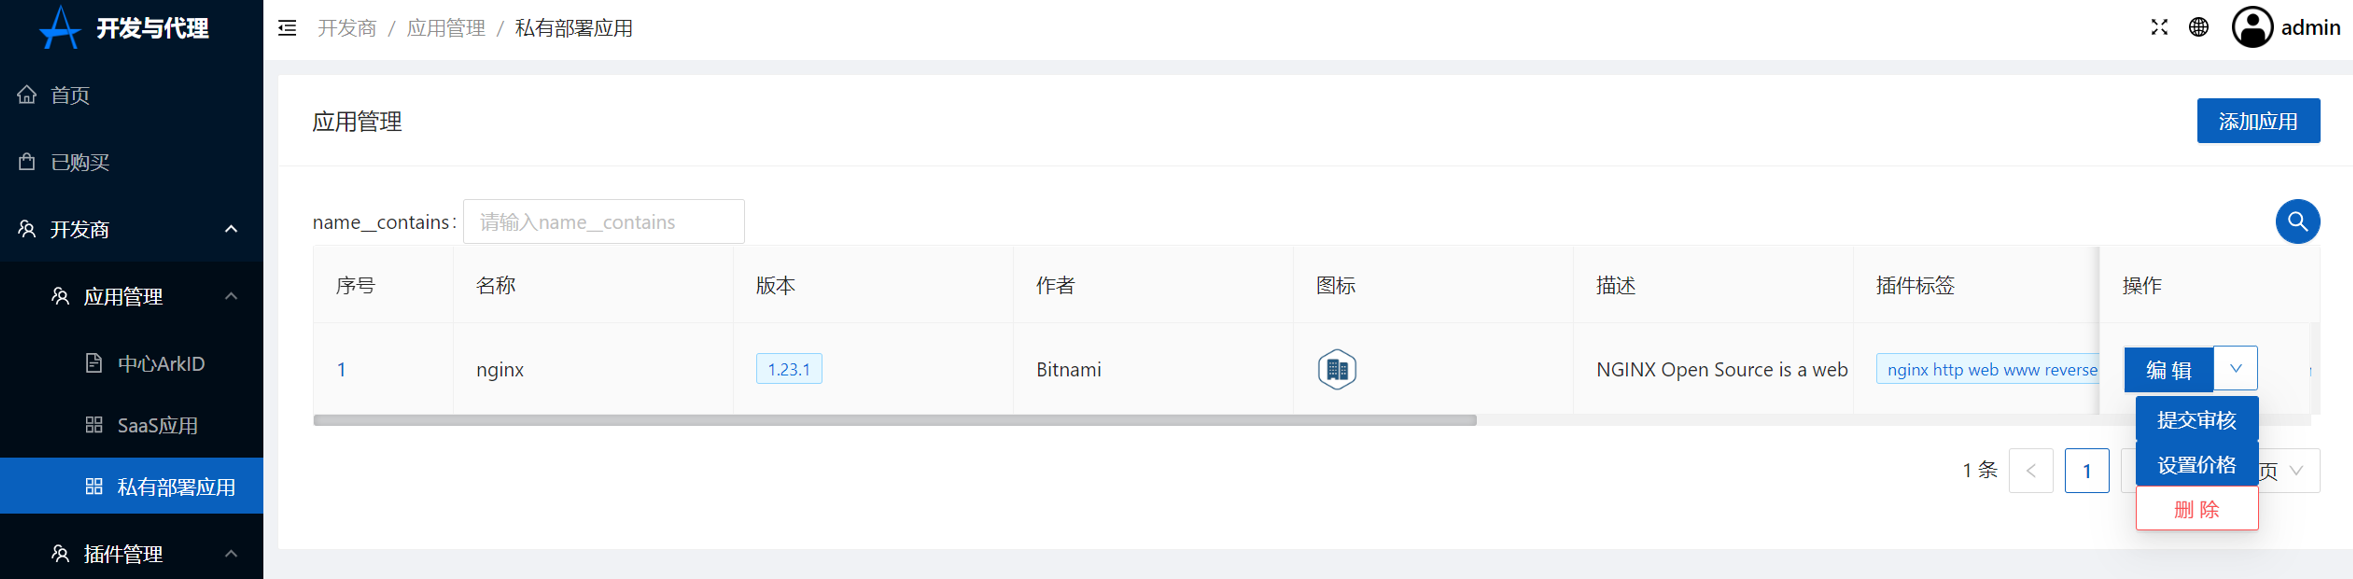
4.Submit review
7.After the dragon returns the audit,Application is completed,All ARKID users can see the application in their app store。